


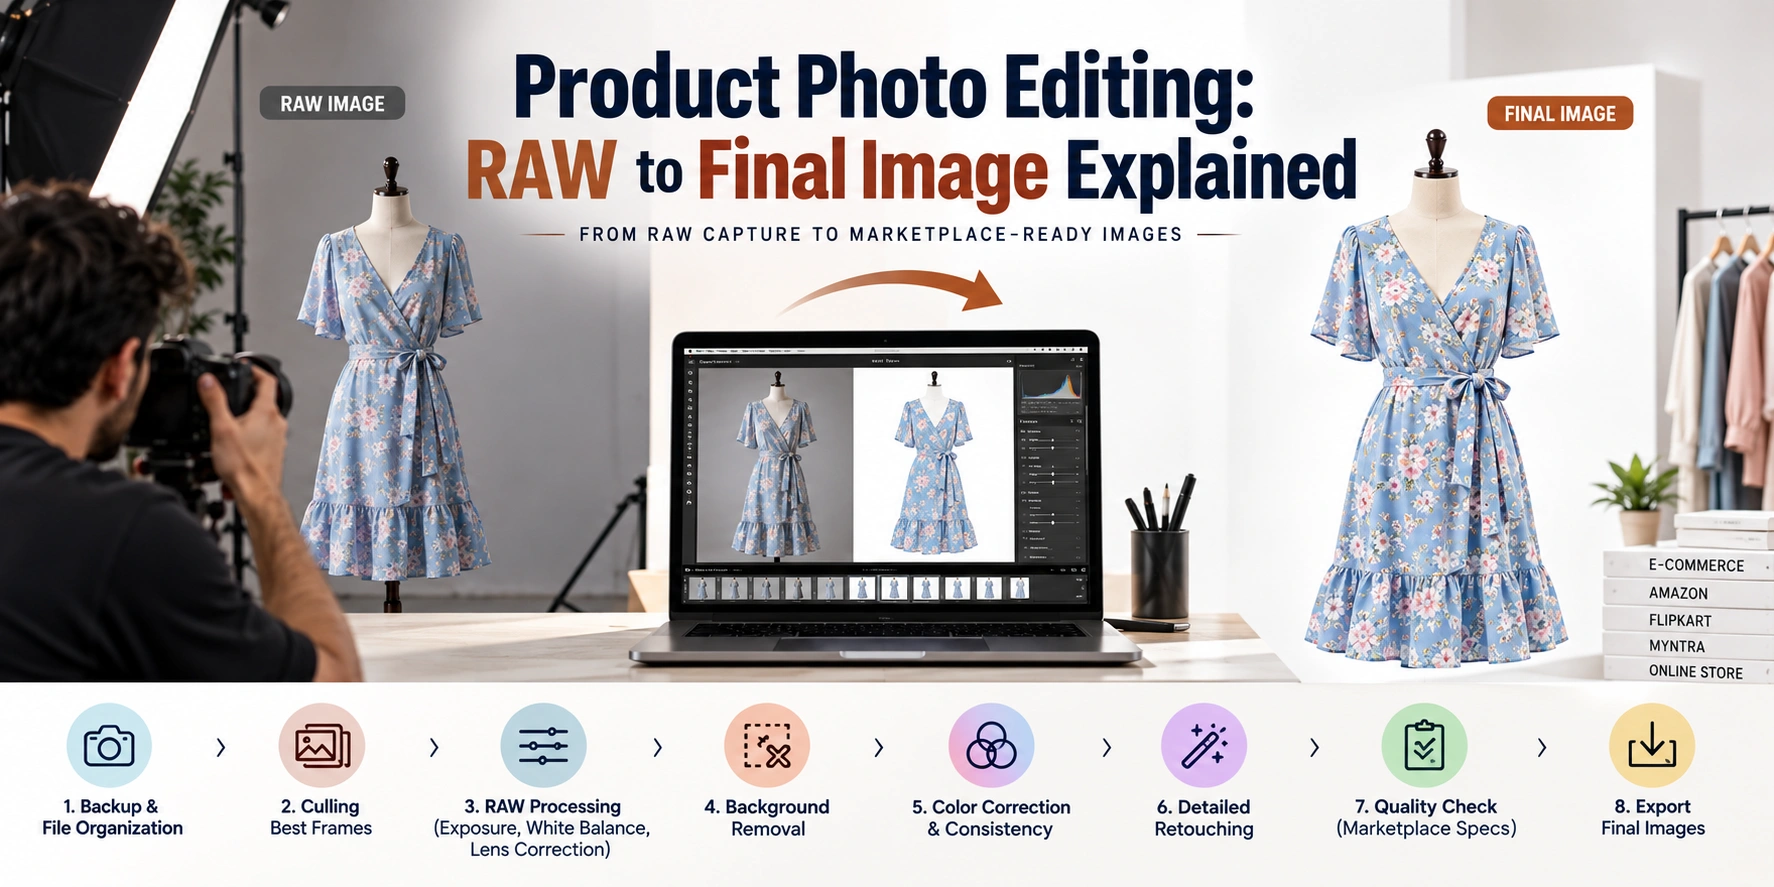
Product photo editing is the process that turns a raw camera capture into a finished, marketplace-ready image — and it typically involves eight distinct stages: backup and organization, culling, RAW processing (exposure, white balance, lens correction), background removal, color correction, detailed retouching, a quality check against marketplace specs, and final export. This is why editing — not the shoot itself — is usually the longest part of the entire product photography process, and why a rushed or skipped editing step is often the real reason a "professionally shot" image still looks inconsistent or off once it's live.
If you've ever wondered why editing takes longer than the shoot, or what your studio is actually doing during that turnaround window, here's the complete breakdown.
What Is a RAW File, and Why Does Product Photo Editing Start There
When a professional camera captures a photo, it doesn't produce a finished image—it produces a RAW file that contains the complete, unprocessed data straight from the camera's sensor. Think of it as a digital negative: every detail the camera captured is technically present, but the file hasn't been processed into a final, viewable image yet.
This matters because RAW files preserve far more information than a standard JPEG — particularly in highlights and shadows — giving an editor much more room to correct exposure, adjust color, and fix lens distortion without degrading image quality. Shooting in RAW is the foundation for accurate, professional-grade product photo editing; skipping straight to JPEG at the shoot stage locks in decisions you can't undo later.
Step 1: Backup and File Organization
Before any actual editing begins, professional workflows start with backing up every RAW file to at least two locations — often local storage and cloud storage — and organizing them into a clear folder structure, typically by product, batch, or shoot date. This step isn't glamorous, but it's the most protective one: losing files at this stage means losing the entire shoot, not just a single image.
Consistent file naming (by SKU, batch, or product code) also matters here, since it's what keeps a large catalog project organized as it moves through the remaining editing stages — without it, a 100-SKU shoot quickly becomes difficult to track accurately.
Step 2: Culling — Selecting the Best Frames
Culling is the process of reviewing every captured frame and selecting only the strongest ones to move forward into editing. For a typical shoot, a photographer might capture several frames per angle to account for minor focus shifts, blinks, or lighting inconsistencies — culling is where the best version of each shot is identified, and everything else is set aside.
This step directly protects editing time downstream: editing a frame that shouldn't have been selected in the first place wastes effort that should go toward polishing the actual final images. Skilled culling is also where consistency starts — choosing frames with matching angles, poses, and framing across a batch makes the entire catalog easier to edit uniformly later.
Step 3: RAW Processing — Exposure, White Balance, and Lens Correction
Once the best frames are selected, RAW processing is where foundational technical corrections happen — before any retouching or background work begins:
.webp)
Best Fashion Photographer in Delhi
Your fashion images are doing a job — selling a product, building a portfolio, running a campaign. If they are not doing tha...
Explore Best Fashion Photographer in Delhi- Exposure correction, balancing brightness and contrast so the product is neither too dark nor blown out
- White balance adjustment, ensuring colors read accurately rather than shifting too warm or too cool
- Lens correction, fixing any distortion introduced by the camera lens, particularly noticeable on straight edges or symmetrical products
- Noise reduction and sharpening, cleaning up any graininess while keeping product detail crisp
This stage is typically done in RAW processing software (like Lightroom or Capture One) rather than a pixel-editing tool, since it works with the full data range preserved in the RAW file rather than an already-flattened image.
Step 4: Background Removal and Clipping Path
For most ecommerce product photography, a clean, marketplace-compliant background — usually pure white — is required for the primary listing image. This is achieved through:
- Clipping paths, precisely outlining the product to separate it from its background, particularly important for products with sharp, defined edges
- Background removal or masking, used for more complex shapes, transparent materials, or fine details like hair, fabric texture, or jewelry
- Ghost mannequin compositing, for garments where interior details (necklines, collars) need to be blended back in after the mannequin is digitally removed
This step is one of the most time-intensive parts of product photo editing for complex products, since a rushed clipping path often results in a visible, slightly rough edge around the product — a common giveaway of amateur editing.
Step 5: Color Correction and Consistency Across the Batch
Beyond the initial white balance adjustment, this stage focuses specifically on making sure color is accurate to the actual product — critical for reducing "different from photos" returns — and consistent across every image in the batch.
For a large catalog, this means checking that a red dress photographed on Monday matches the same red tone as a similar product shot the following week, and that lighting and color temperature don't visibly shift from SKU to SKU. This consistency is often what makes a catalog feel professionally cohesive, even more than any single standout photo.
Step 6: Detailed Retouching
Retouching is where an editor addresses specific imperfections that weren't fully resolved during the shoot itself:
- Removing dust, lint, or minor blemishes on the product surface
- Smoothing out fabric wrinkles that couldn't be fully steamed out before shooting
- Adjusting shadows for a natural, realistic look without appearing artificial or overly flat
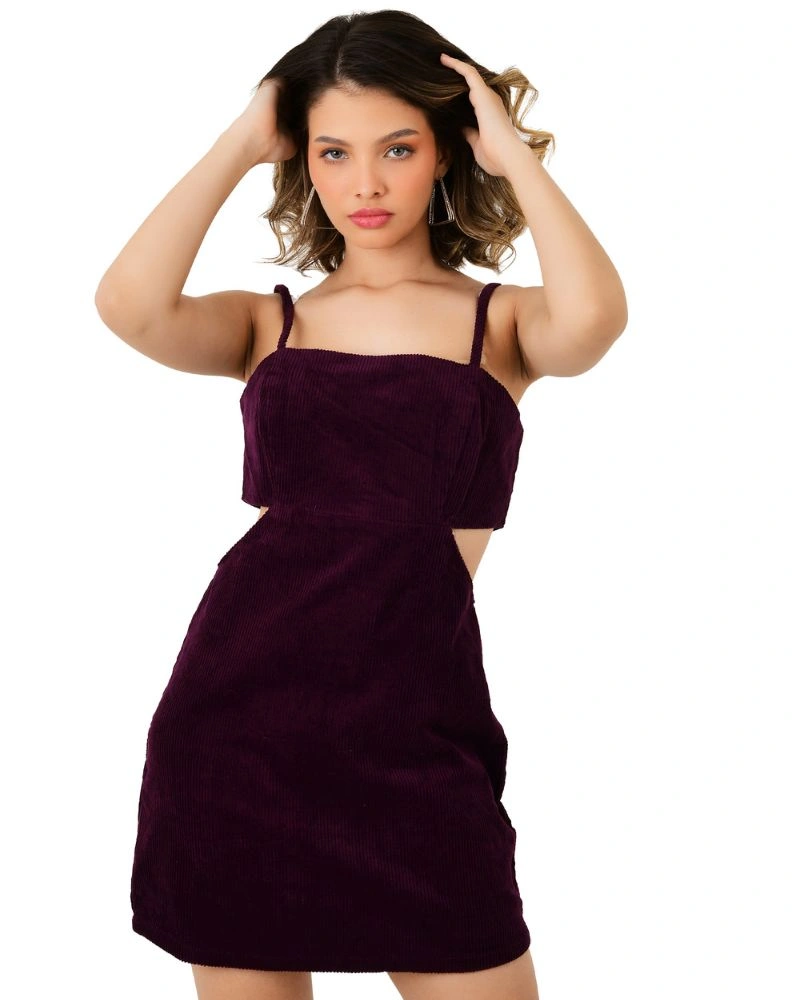
- For model shots, standard skin retouching that maintains a natural, realistic appearance rather than an artificial, over-processed look
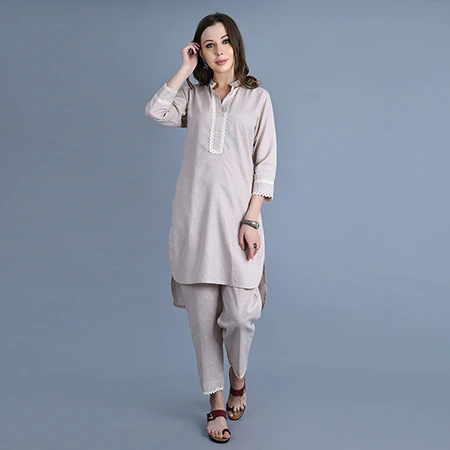
Clothing Photography in Delhi
Looking for a reliable clothing photographer in Delhi who delivers consistent, high-converting apparel images for your brand or on...
Explore Clothing Photography in DelhiThe amount of retouching needed varies significantly by product type — a simple white-background flat lay might need minimal work, while a heavily embellished garment or a model shot can require considerably more detailed attention per image.
Step 7: Quality Check Against Marketplace Specs
Before any image is considered finished, it needs to be checked against the specific technical requirements of wherever it will be published — Amazon, Flipkart, Myntra, or a brand's own website. This includes:
- Correct resolution and aspect ratio for the target platform
- Accurate background compliance (pure white where required)
- Correct file format and color profile
- Consistency check across the full batch, catching any image that doesn't match the rest in lighting, color, or framing
Skipping this step is one of the most common reasons finished images get rejected during a marketplace's own review process — a fully edited image that doesn't meet a platform's technical spec still needs to be reformatted before it can go live.
Step 8: Export and Format for Delivery
The final step converts the fully edited working file into the actual delivery format:
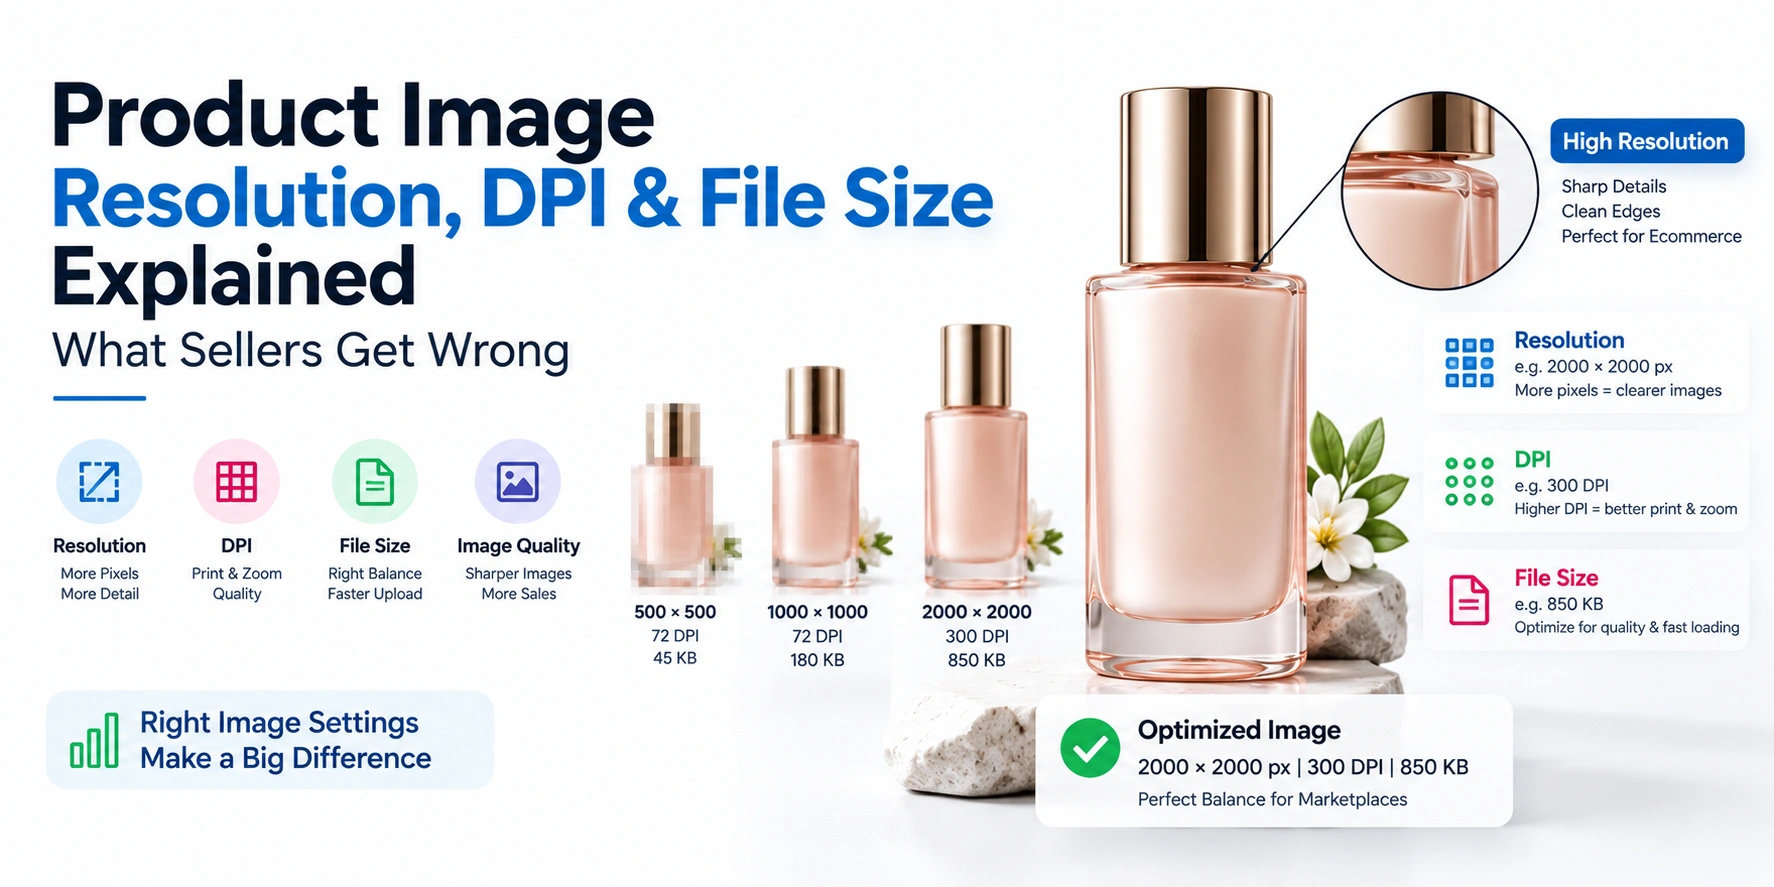
- JPEG or WebP for most standard web and marketplace use, balancing quality and file size
- PNG for images requiring a transparent background
- sRGB color profile, ensuring images display consistently across different devices and screens
- Correctly sized and named files, organized to match the seller's SKU system for easy upload
This last check should always happen on the actual exported files, not just the working editing files — export settings can introduce their own issues (incorrect sizing, wrong color profile) even when the underlying edit was done correctly.
Why Product Photo Editing Takes Longer Than It Looks
Sellers are often surprised that editing takes longer than the shoot itself, but this breakdown shows why: each of these eight steps happens individually, and for a batch of 50 or 100+ SKUs, even small amounts of time per image compound quickly across the full set. This is also why studios structure product photo editing as a parallel, multi-stage pipeline rather than a single person handling one image start to finish — it's the only way to keep both quality and turnaround time reasonable for larger batches.
DIY or Auto-Editing Tools vs. Professional Product Photo Editing
Automated background removal and basic editing tools have genuinely improved and can work well for very simple images. But they generally struggle with:
Amazon Product Photography in Delhi
Sanjay Babu Lohar, founder of Lohar Studio Delhi, has been photographing products for Amazon sellers since 2009 — over 15 ye...
Explore Amazon Product Photography in Delhi- Fine detail work — hair, fabric texture, transparent or reflective materials
- Consistency across a large batch, since automated tools process each image independently without checking against the rest of the catalog
- Nuanced color correction, particularly for accurately reproducing specific fabric tones or metallic finishes
- Catching platform-specific compliance issues before submission
For a small, simple batch, auto-editing tools can be a reasonable starting point. For a growing catalog where consistency, accuracy, and marketplace compliance genuinely affect conversion and return rates, professional product photo editing generally produces a more reliable, sellable result.
FAQs About Product Photo Editing Process
1. What is product photo editing, and why does it take longer than the shoot?
Product photo editing is the multi-stage process of turning a raw camera capture into a finished image — culling, RAW processing, background removal, color correction, retouching, quality checks, and export — and this compounds significantly across a large batch, which is why it usually takes longer than the shoot itself.
2. What is a RAW file, and why does professional photography use it?
A RAW file contains the complete, unprocessed image data from the camera sensor, preserving far more detail than a JPEG and allowing much more accurate correction of exposure, color, and lens distortion during editing.
3. What's included in a typical product photo editing process?
A complete process typically includes culling, RAW processing (exposure, white balance, lens correction), background removal, color correction, retouching, a marketplace compliance check, and final export.
4. Why do some edited images still get rejected by marketplaces?
Usually because the final export wasn't checked against the specific platform's technical requirements — resolution, aspect ratio, background compliance, or file format — even if the actual editing work was done well.
5. Can I use automated background removal tools instead of professional product photo editing?
Amazon Footwear Photography — Professional Shoes Photography for Amazon Listings
Getting your shoes listed and selling on Amazon starts with one non-negotiable requirement: images that pass Amazon's strict compl...
Explore Amazon Footwear Photography — Professional Shoes Photography for Amazon ListingsFor very simple images, sometimes — but automated tools typically struggle with fine detail, batch consistency, and nuanced color accuracy compared to professional editing.
6. Why does color accuracy matter so much in product photo editing?
Inaccurate color is one of the most common causes of "different from photos" returns, since it directly affects whether the delivered product matches what the customer saw online.
7. What's the difference between clipping path and background removal?
Clipping path uses a precise outline, typically for products with sharp, defined edges, while background removal or masking is used for more complex shapes with fine details like hair or fabric texture.
8. How does product photo editing stay consistent across a large batch of products?
Through careful color and lighting checks across the full set during the editing process, ensuring similar products don't visually shift in tone or exposure from one image to the next.
9. What happens during the quality check stage of product photo editing?
Each finished image is checked against the target platform's specific technical requirements — resolution, aspect ratio, background, and format — before being considered complete.
10. Does retouching make product photos look unrealistic?
Not when done well — professional retouching aims for a natural, accurate representation, removing genuine imperfections like dust or minor wrinkles without artificially altering the actual product.
Curious what your images go through after the shoot?
Product photo editing is what turns a good shoot into a sellable, marketplace-ready catalog — [Contact us for Lohar Studio's editing and post-production process], from RAW processing to marketplace-compliant delivery.
If you're looking to enhance your brand’s presence on leading e-commerce platforms like Amazon, Flipkart, Myntra, Meesho, TataCliQ, Snapdeal, and Ajio, Lohar Studio is your go-to destination. Our team specializes in delivering high-quality images for fashion items, footwear, automotive products, medical photography, business headshots, and corporate shoots. We serve Delhi, Noida, Gurgaon, Faridabad, and Ghaziabad, offering professional results that boost conversions and elevate your brand’s image. Get in touch today at +91 9312070458 or visit us at A1/58, 1st Floor, Sector 6 Rd, Pocket 1, Sector 6A, Rohini, Delhi, 110085, to schedule your next shoot!

Written from hands-on experience shooting for 4000+ brands - practical, field-tested photography advice, not just theory.